Getting Started
In this article, we will execute the initial steps to get a local Boomack Server up and running. Then we will run some simple requests against it — that way, we get familiar with the basic concepts.
- First, we install the Boomack Server and the Boomack Client for the command line.
- Second, we start the server.
- We run a first display request with the client CLI against the server.
- Then, we create a simple grid layout in a new panel.
- And finally, we display some data as table and as plot side-by-side.
If you worked your way through this guide and want to know more about the concepts and inner workings of Boomack read the concepts page next.
TL;DR ↑
You are a developer familiar with NodeJS and have no time to read, then this excerpt is for you. Otherwise, skip to Installation.
Install the Boomack Server, the Boomack Client CLI, and a plug-in for Vega visualizations:
npm i -g boomack boomack-cli boomack-plugin-vega
Start the Boomack Server from one terminal:
boomack
Open the default panel in your browser:
http://127.0.0.1:3000/panels/default
Display content in the panel with the Boomack Client CLI, using a second terminal:
boom "Hello World!"
Installation ↑
There are two officially supported ways to install Boomack: Windows Installer and NodeJS Package Manager (npm).
The goal of the installation is to make the commands boomack for starting
the Boomack Server and boom for the Boomack Client CLI
available in your shell or command prompt, respectively.
Alternatively, you can run the Boomack Server in a Docker container.
Windows Installer ↑
If you are using Windows and you are usually not using NodeJS, you can download the Windows Installer package from the Download page.
The Windows Installer package contains the Boomack Server with all official plug-ins,
the Boomack Client CLI, and potentially other tools
from the Boomack ecosystem.
The installer adds the commands to the system environment variable PATH by default.
That way, they are available at the command line in Windows.
Mainly supported are CMD, Windows PowerShell and PowerShell (Core).
Currently, the Windows installer does not come with an option for running the Boomack Server as a Windows service. You should be able to use the Windows Service Wrapper, though.
NodeJS Package Manager (npm) ↑
Boomack is written in TypeScript/JavaScript for NodeJS.
Therefore, for the developer, already using NodeJS
and for everyone using Linux or Mac, the best way to install both,
the server and the client CLI, is by installing the NodeJS packages
boomack and boomack-cli via npm globally.
If you do not have NodeJS installed yet, checkout its download page, or under Linux try your package manager.
- Debian/Ubuntu:
sudo apt install node - Fedora/RHEL:
sudo dnf install node - Mac OS: Download and run the macOS Installer file (
*.pkg) - Windows: Download and run the Windows Installer (
*.msi)
Check the version of your NodeJS on the command line with node --version.
It should be at least version 10.
Every LTS release with a higher version number should do as well.
Then install the NodeJS packages for server and client CLI with npm.
Optionally install some official plug-ins as well.
npm install --global boomack boomack-cli
npm install --global boomack-plugin-vega
npm install --global boomack-plugin-mermaid
npm install --global boomack-plugin-leaflet
npm install --global boomack-plugin-pdf
npm i -g boomack boomack-cli boomack-plugin-vega boomack-plugin-mermaid boomack-plugin-leaflet boomack-plugin-pdf
Start Boomack Server ↑
Open the command line or shell of your choice and run the Boomack Server with the following command:
boomack
To stop the server later, press Ctrl + C.
Now you can open the homepage of the Boomack Server in your browser. It will show a menu for all Panels, currently existing on the Boomack Server: http://127.0.0.1:3000/
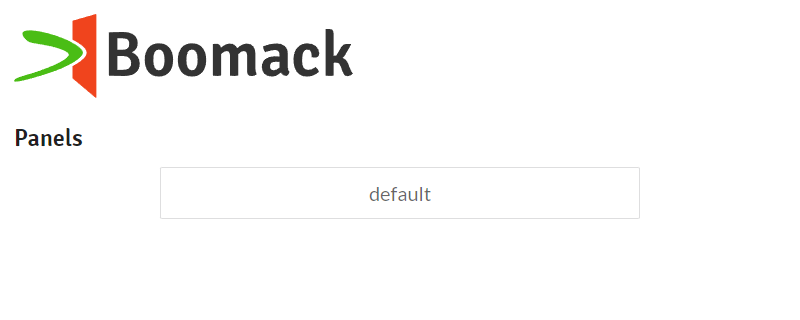
Click on the panel “default”, because next, we will display something in the default panel.
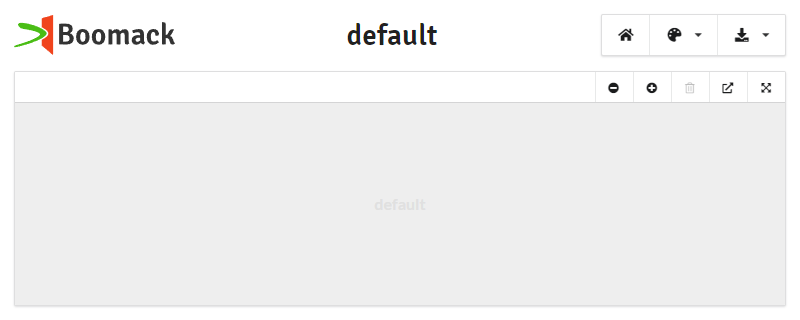
boomack command has a couple of command line options.
You can e. g. specify the port and the host IP address,
or point the Boomack Server to a configuration file it should use.
You can show a short description of all supported options with boomack --help.First Display Request ↑
For now, we use the Boomack Client CLI boom to interact with the server.
Of course, the first thing we want to display, is the plain text “Hello World!”.
boom "Hello World!"
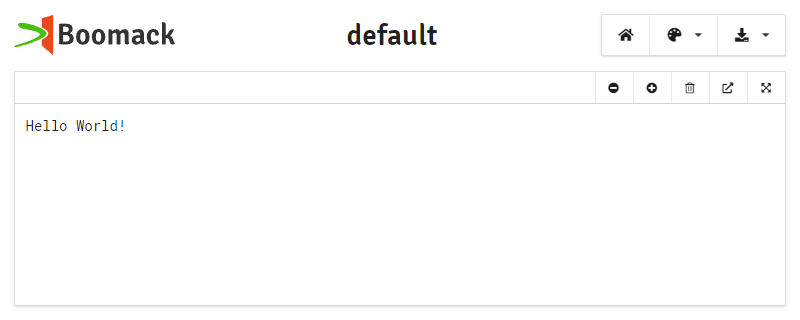
Like with most command line tools, you can run boom --help to display the
supported command line arguments.
The boom command does support a number of sub-commands, to control
different entities on the server like Panels, Slots, Presets, Types, and Actions.
But the default command is display, which is used to display a media item
in one of the slots, inside a panel.
Therefore, the commands boom "Hello World!" and boom display "Hello World!"
have the same meaning.
There are fundamentally three different ways to specify a media item to be displayed by Boomack.
- Text: A character string like plain text, HTML, source code like JSON, C++, Java, Bash-Script, XML, etc.
- File: A path to a file in the filesystem, reachable by the Boomack client
- URL: A HTTP or HTTPS URL pointing to a media item in the web
You tell boom which way you want to specify the media item, by using the flags
--string or -s for text, --file or -f for a file path, and --url or -u for an URL.
If you do not use one of the flags in front of your content, boom tries to figure out which one fits best.
If you pass a valid URL, boom treats it as a URL.
If you pass a valid path to an existing file, boom treats it as a filename.
Everything else will be treated as text.
Therefore, the following commands are equivalent:
boom "Hello World!"⇒boom display --string "Hello World!"boom "vacation/pic.jpg"⇒boom display --file "vacation/pic.jpg"boom https://bit.ly/3tgSmpM⇒boom display --url https://bit.ly/3tgSmpM
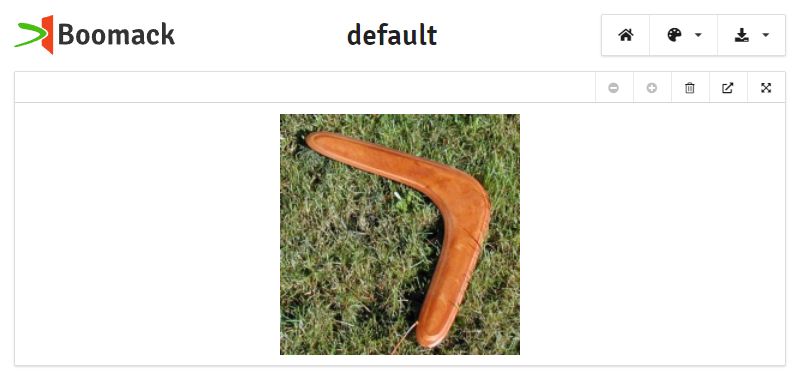
(A photo of a boomerang from Wikimedia Commons)
boom on the command line the short forms can save you time.
But if you use boom in your shell scripts, it is best to be explicit and use the long forms.boom https://bit.ly/3tgSmpM
boom display --url https://bit.ly/3tgSmpM
New Panel with Grid Layout ↑
The content on a Boomack Server is organized in Panels. A panel roughly corresponds to a web page. Every panel contains one or more Slots. The slots are arranged in one of the following layouts:
- Grid Layout
- The panel has a grid with one or more columns and rows.
- The panel always fills the hole browser window.
- Slots are placed individually in an arbitrary cell and given an arbitrary column and row span.
- All slots must be defined upfront, when defining the panel layout.
- Document Layout
- The panel has a sequential layout from top to bottom.
- Slots are simply stacked vertically.
- Some slots may be defined upfront, but more slots can be added dynamically.
Click on the home button in the head menu of the “default” panel to return to the panel menu.
To create a new panel, you call boom with the panel ID and a layout definition.
boom panel add my-panel "{type: grid, grid: {columns: 3, rows: 1}, slots: {a: {columnSpan: 2}, b: {column: 2}}}"
The new panel appears in the panel menu. Click on the new “my-panel” menu entry to open the newly created panel.
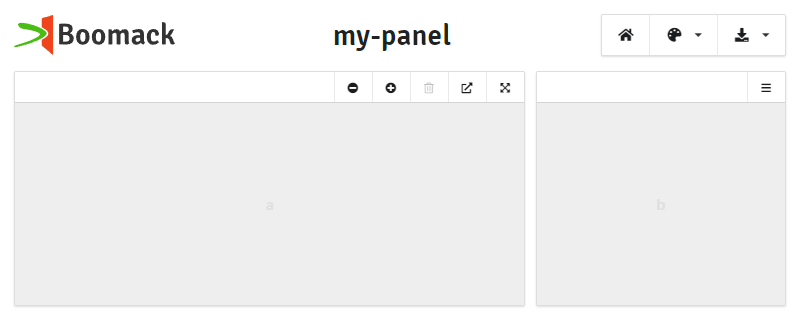
The sub-commands of boom are hierarchical and to manage the panels the panel sub-command is used.
Underneath, there are another group of sub-commands: ls, get, add, layout, clear, export, and delete.
Therefore, to add a new panel, we use boom panel add.
The panel add sub-command expects an ID for the new panel, and optionally a layout definition.
The layout definition can be passed as a YAML string. Which is handy on the command line, because YAML is a superset of JSON and allows for less quoting in the structure. The following code example shows the correct JSON, along with the compact YAML one-liner used in the boom command, and canonical YAML.
{
    "type": "grid",
    "grid": {
        "columns": 3,
        "rows": 1
    },
    "slots": {
        "a": { "columnSpan": 2 },
        "b": { "column": 2 }
    }
}
{type: grid, grid: {columns: 3, rows: 1}, slots: {a: {columnSpan: 2}, b: {column: 2}}}
In the YAML one-liner, the space after the colons : is important and can not be eradicated.
type: grid
grid:
  columns: 3
  rows: 1
slots:
  a:
    columnSpan: 2
  b:
    column: 2
If the layout gets more complicated, it is not practical anymore to put it directly as an argument on the command line. That is why you can use a file path, instead of the literal layout. The file must be a JSON or a YAML file.
E. g. given the JSON encoded layout above was stored into the file my-layout.json,
you can write the following to create a third panel with the same layout:
boom panel add my-third-panel my-layout.json
boom recognizes the file path and uses the files content as the layout definition.
To change the layout of an existing panel, you can call boom with the panel layout sub-command.
boom panel layout my-panel "{type: grid}"
Data Visualization ↑
A typical use case for Boomack is to visualize some kind of dataset.
In this example the data set is a simple list of categories and associated values.
The data is first stored in a CSV file data.csv.
And second it is embedded in a
Vega Lite specification (JSON) in the file donut.vegalite.
data.csvdonut.vegaliteCategory, Value
A, 4
B, 6
C, 10
D, 3
E, 7
F, 8
{
  "$schema": "https://vega.github.io/schema/vega-lite/v5.json",
  "description": "A simple donut chart with embedded data.",
  "data": {
    "values": [
      { "Category": "A", "Value": 4 },
      { "Category": "B", "Value": 6 },
      { "Category": "C", "Value": 10 },
      { "Category": "D", "Value": 3 },
      { "Category": "E", "Value": 7 },
      { "Category": "F", "Value": 8 }
    ]
  },
  "mark": { "type": "arc", "innerRadius": 50 },
  "encoding": {
    "theta": { "field": "Value", "type": "quantitative" },
    "color": { "field": "Category", "type": "nominal" }
  }
}
Boomack comes with a core plug-in for displaying CSV tables.
For rendering Vega or Vega Lite visualizations,
an official plug-in is provided as npm package boomack-plugin-vega.
Both plug-ins contain a transformation for converting the
input (CSV, JSON) from the display request into HTML.
They are taking care of loading required JavaScript libraries in the browser too.
Displaying the CSV data in a table and the donut plot takes two commands:
boom -l my-panel/a data.csv
boom -l my-panel/b donut.vegalite
boom display --location my-panel/a --file data.csv
boom display --location my-panel/b --file donut.vegalite
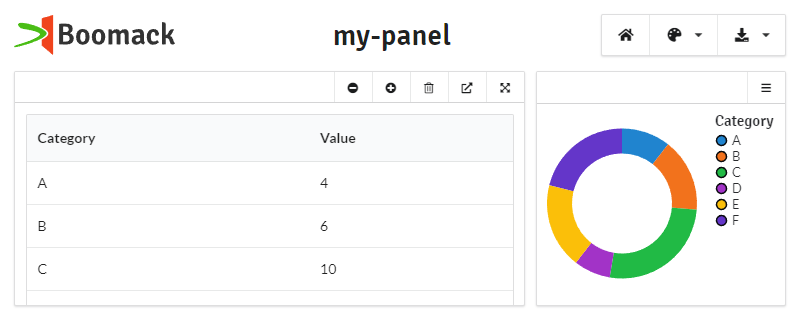
The command line option -l or --location specifies the panel and slot as target location.
The Boomack Server needs to know the media type of the content it is about to display.
And it is the clients responsibility to send the media type along with the content.
The Boomack Client CLI boom tries to guess the media type of a file by the filename and its extension.
In case of .csv and .vegalite,
it knows to apply the media types text/csv and application/x-vega-lite-spec.
But if you like to save the Vega Lite specification in a file donut.json
instead in donut.vegalite — because your editor or IDE does not know
the .vegalite file extension — the Boomack Client CLI would recognize the file
as application/json. Then the Boomack Server would treat the input
as usual JSON and show it as text with syntax highlighting.
Therefore, if the Boomack Client CLI can not guess the media type correctly,
you must specify the media type in your command line.
The command line option -t or --type serves that purpose.
To display the donut plot from the JSON file donut.json,
you can use the following command:
boom -l my-panel/b -t application/x-vega-lite-spec -f donut.json
boom display --location my-panel/b --type application/x-vega-lite-spec --file donut.json
The Boomack Client CLI can list all media types currently known by the Boomack Server:
boom type ls
Display Options ↑
With display options, you can control in a more detailed fashion how content is displayed.
Some display options are interpreted by the Boomack Server itself.
Others are interpreted by a plug-in which transforms or renders the content.
Which transformation or renderer is selected, is controlled by display options also:
The display option transformation controlls which transformation is used.
The display option renderer controlls which renderer is used.
Usually, Boomack or its plug-ins associate some useful display options with a known media type.
The CSV core plug-in e. g. associates the text/csv media type with
the display options transformation: csv-table, which activates the transformation
of the CSV into an HTML table.
In case the associated options do not yield the result intended by you or an unknown media type is used,
you can specify display options with -o or --options.
To try this out, you can extend the display request for the CSV table with
the following display options: compact: true and sortable: true.
boom -l my-panel/a -t text/csv -o compact=true sortable=true -f data.csv
Simple display options can be given as key-pairs like compact=true.
Alternatively you can pass in options formatted as JSON or YAML maps.
boom -l my-panel/a -t text/csv -o "{compact: true, sortable: true}" -f data.csv
For the Vega Lite plot you could replace the explicit media type with the display option
transformation: vega-lite, which activates the Vega Lite transformation
from the Vega plug-in. The result would be the same.


